Resources & Information
About Merchology
- Our Team
- Our Process
- Corporate Responsibility
- Visit the Merchology Showroom
- Merchology in the News
- Merchology is a D.O.B.E.
- Careers
- Customer Reviews
- Customer Case Studies
- Merchology’s Wellness Committee
- Merchology Accessibility Statement
- Message from Merchology's Founders
- March Business Highlight: All About Merchology

Top 10 Lists
Partner Highlights
- YETI Partner Highlight
- Ogio Partner Highlight
- Ember Partner Highlight
- Timbuk2 Partner Highlight
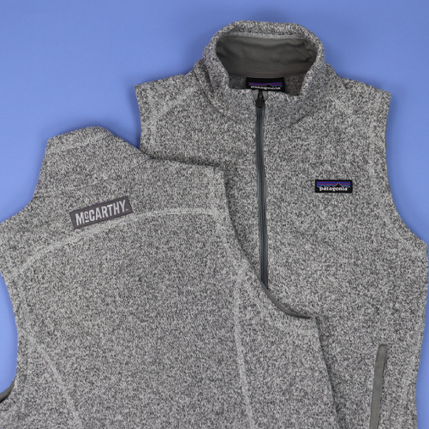
- Patagonia Partner Highlight
- Nike Partner Highlight
- The North Face Partner Highlight
- Moleskine Partner Highlight
- Under Armour Partner Highlight
- Holderness & Bourne Partner Highlight
- Jaanuu Partner Highlight
- Carhartt Partner Highlight
- Stio Partner Highlight
- Partner Highlight: A. Putnam